


Product Care
Proper care and installation of our products is essential to maximize their longevity and performance, despite their already exceptional quality. By investing a little TLC (tender loving care), you can ensure that you get the most out of your purchase. To begin, it is important to carefully follow the installation instructions specific to your product. These instructions are designed to guide you to a proper installation and prevent any potential issues.
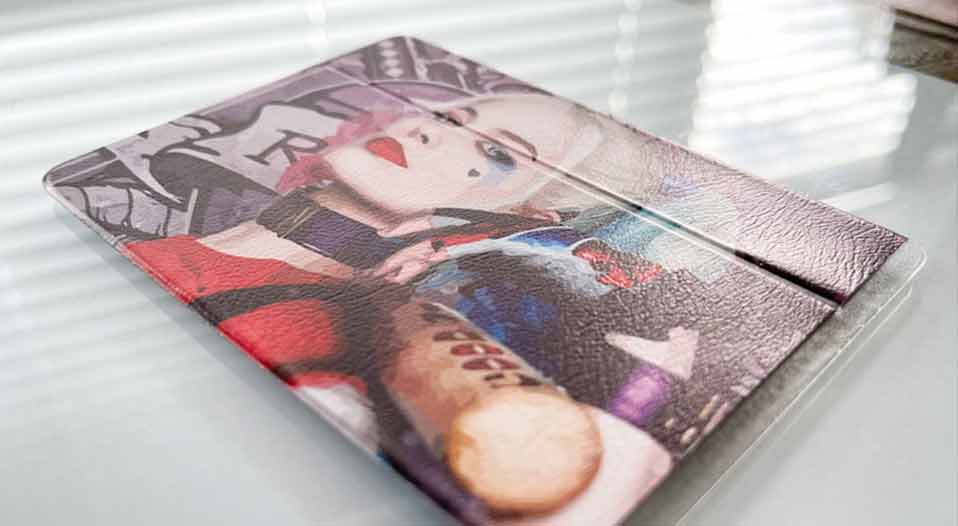
Rego Pouches
The most important thing is to keep your new Rego Pouch out of the sun or heat until it has been firmly pressed into place on your windscreen and had at least 60 minutes for the adhesive to bond with the glass. Never store your pouch in the glovebox.
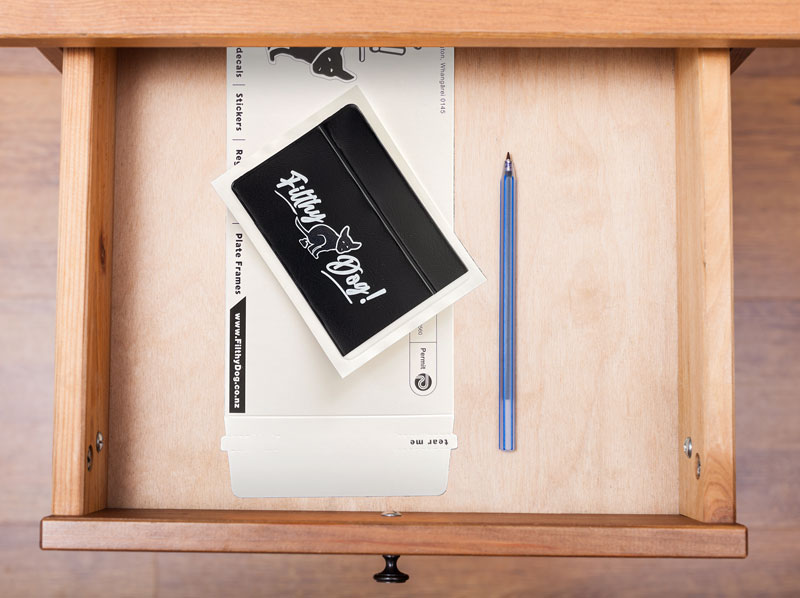
Step One | Store
Store your new Rego Pouch flat in a dry & cool place until you are ready to install.
Never store your Rego Pouch in your glovebox.
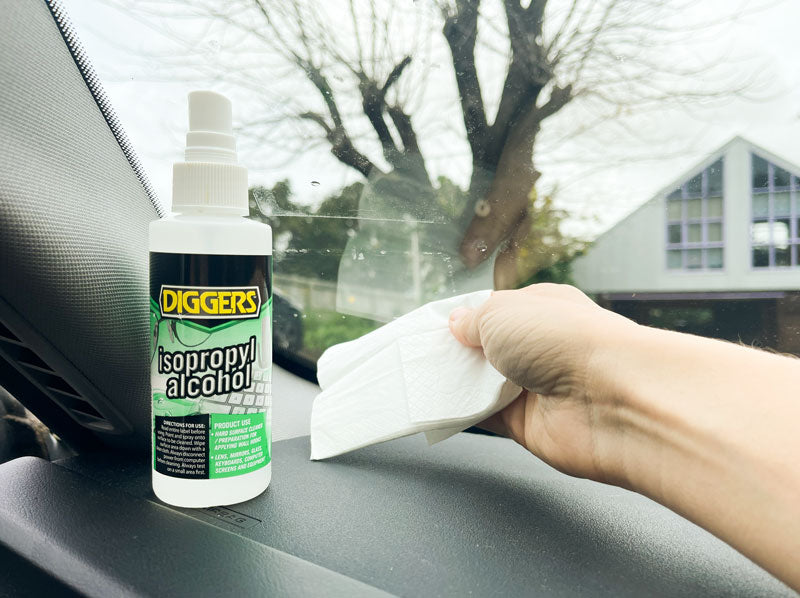
Step Two | Clean
Clean your windscreen prior to installing your new Rego Pouch. Thoroughly clean the glass removing your old rego holder, any leftover adhesive, residue, dust, or fingerprints.
For best results cutting through old adhesive or greasy marks, use Isopropyl Alcohol (rubbing alcohol) and dry the surface with a paper towel.
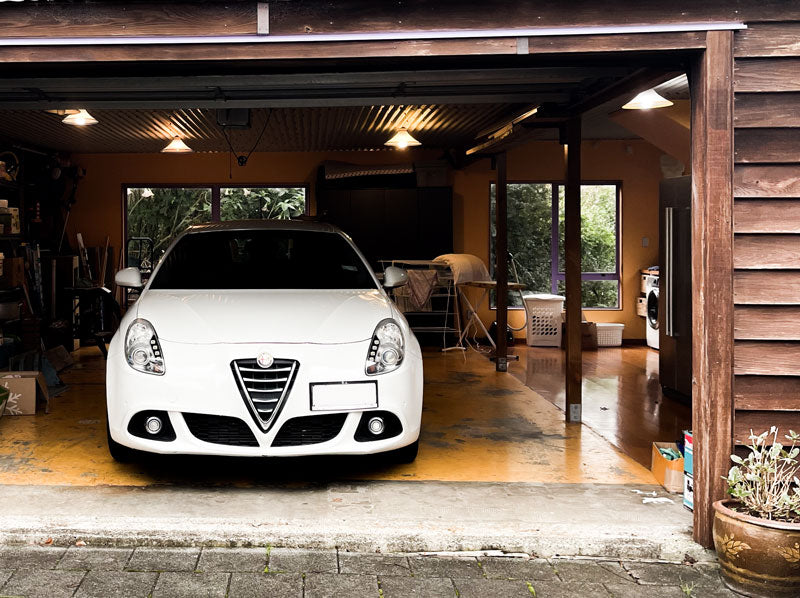
Step Three | Cool Interior
It is critical that your windscreen and your vehicle interior is clean and nice and cool before and during the install of your new Rego Pouch.
The best time for an install may be in the morning or when your vehicle has been out of direct sunlight for a lengthy period of time.
Step Four | Peel
Peel the backing paper back slightly to reveal one edge of the adhesive side of the Pouch.
Handy Tip: To position your pouch exactly where you want it placed you could use some masking tape to place guides on your windscreen.
Step Five | Install
Place the exposed adhesive edge of your Rego Pouch onto your windscreen, pressing firmly to ensure the pouch doesn't move.
Continue peeling back the backing paper while gradually following along behind pressing the pouch onto the glass trying to avoid trapping any air bubbles.
Once you have your Rego Pouch completely mounted on the glass, press out any remaining air bubbles working form the centre to the outer edges. A small squeeze or firm pressure with your fingers will work well.
After installing it is then important to keep your new Rego Pouch and vehicle out of direct sunlight or extreme heat for at least another hour.
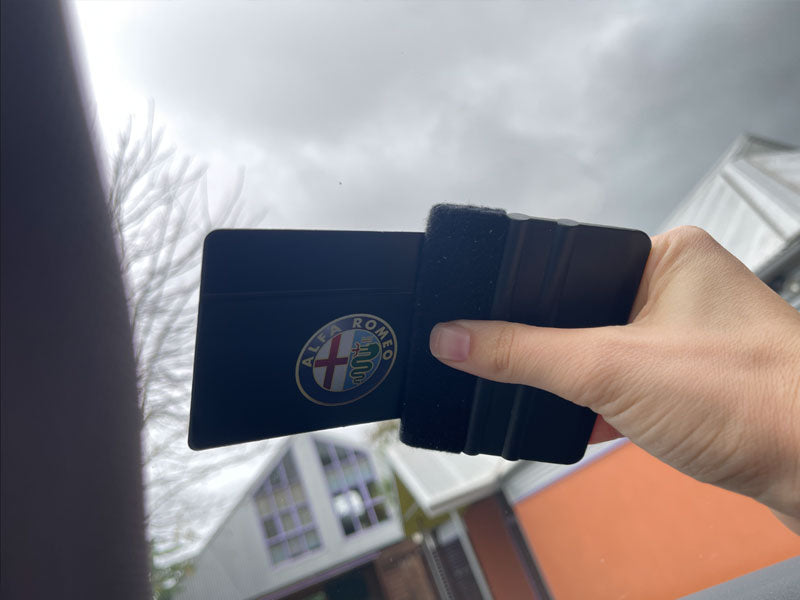
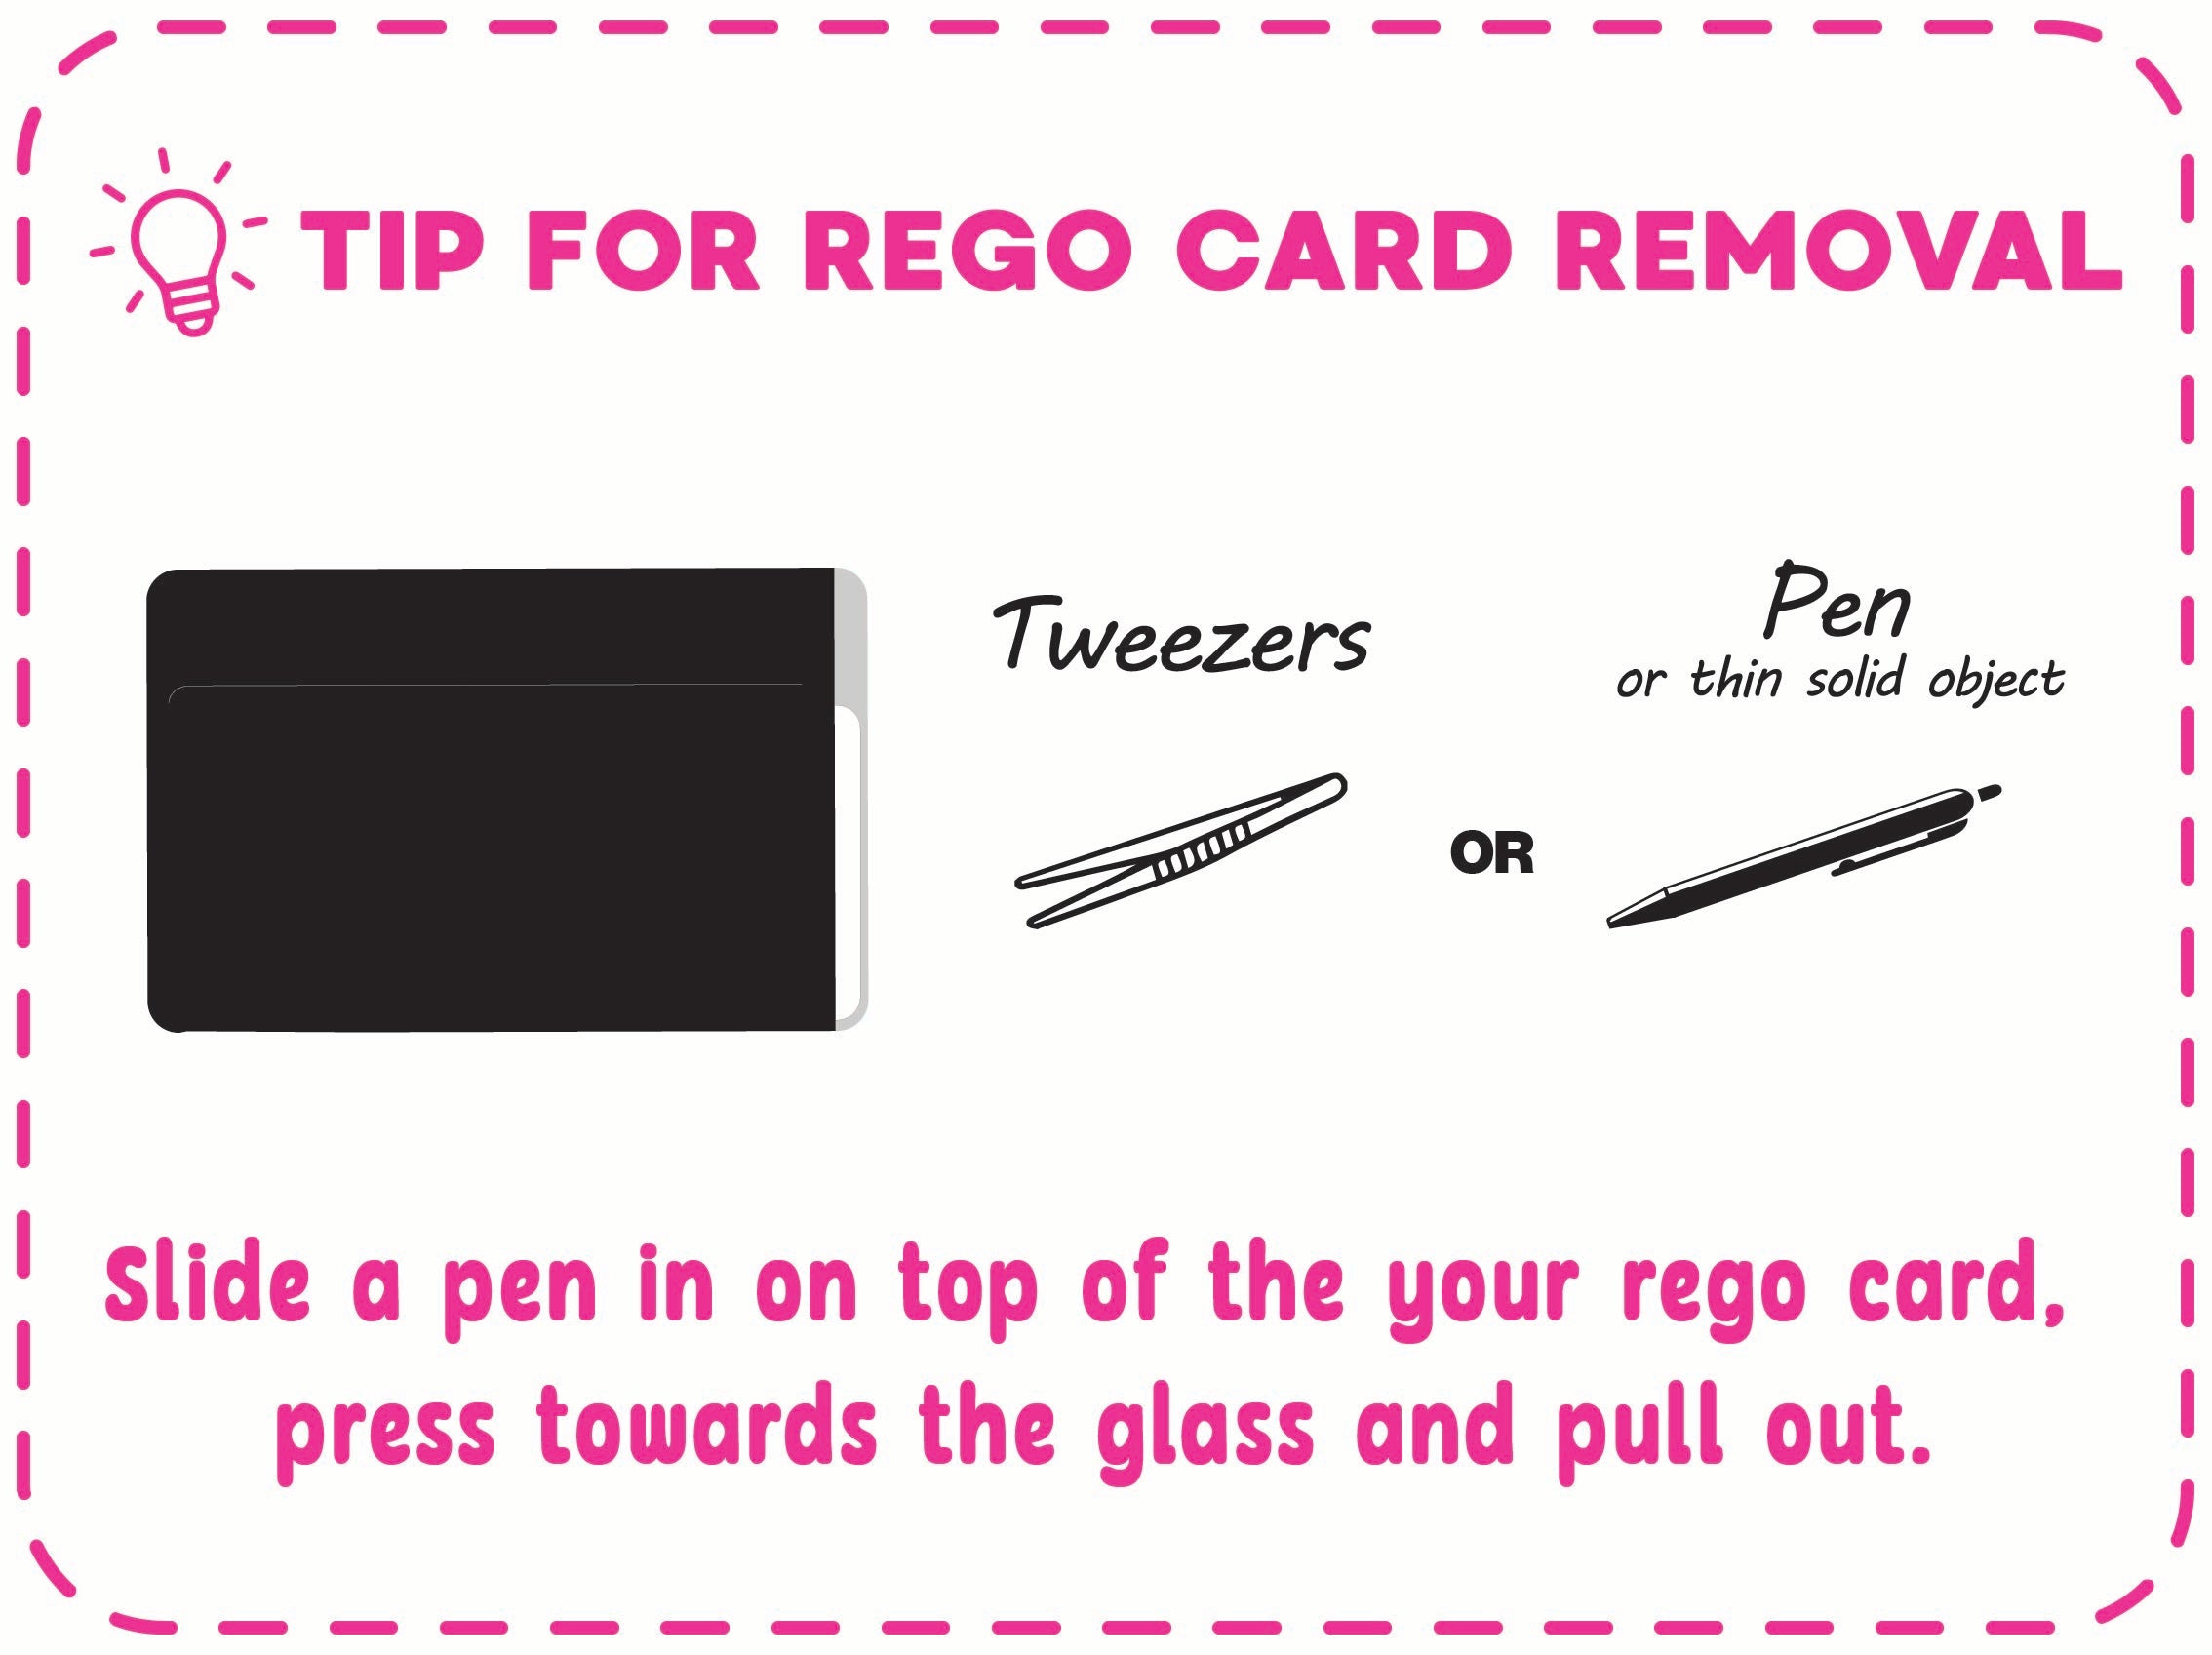
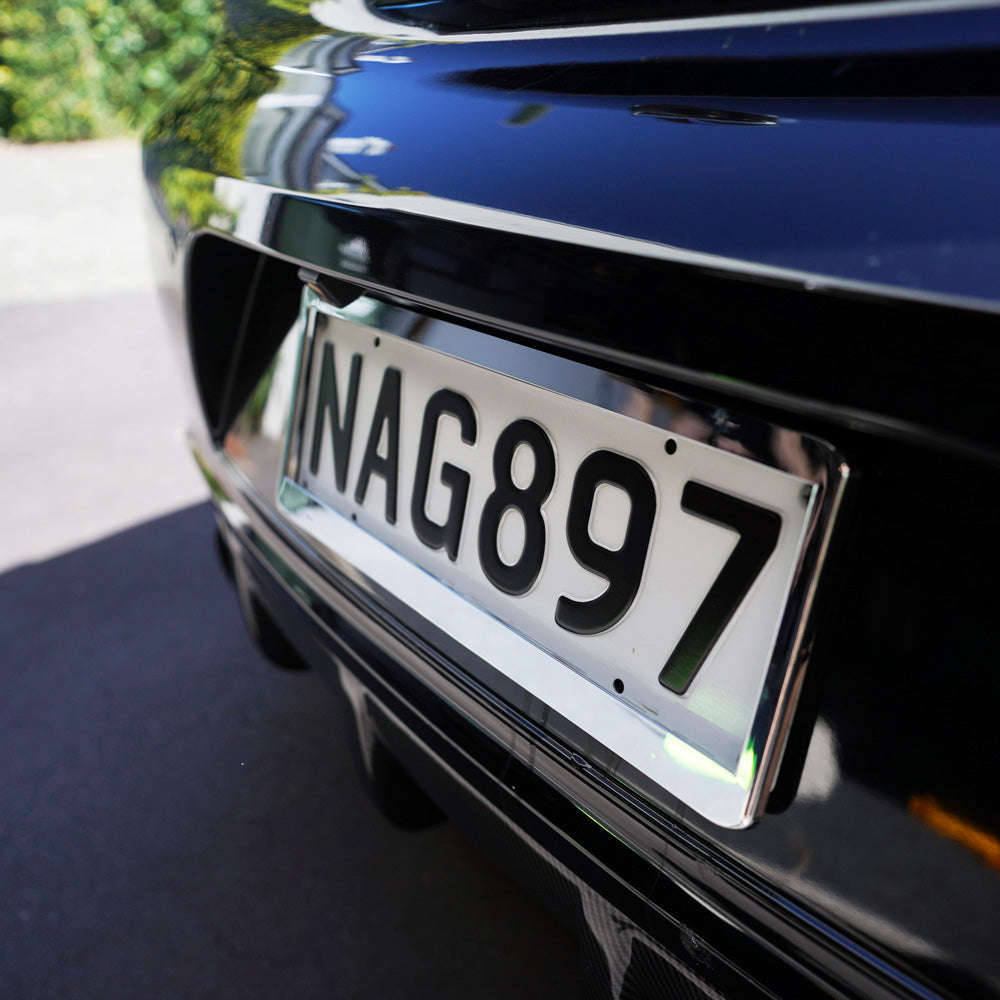
Plate Frames
We have two styles of Plate Frame mounts in our range of Frames.
Clip on and screw on.

Preperation
Before installing your new Plate Frames it is a good time to consider replacing your old rusting and potentially failing number plate screws.
Clip on Plate Frames
If your number plate is screwed tight against your vehicle and you don't think the Plate Frames mounting clips will have room to slide behind your number plate, you may need to slightly loosen off your number plate screws about half a turn.
Screw on Euro Frames
You will need to completely unscrew and remove your European number plate for mounting your frames.
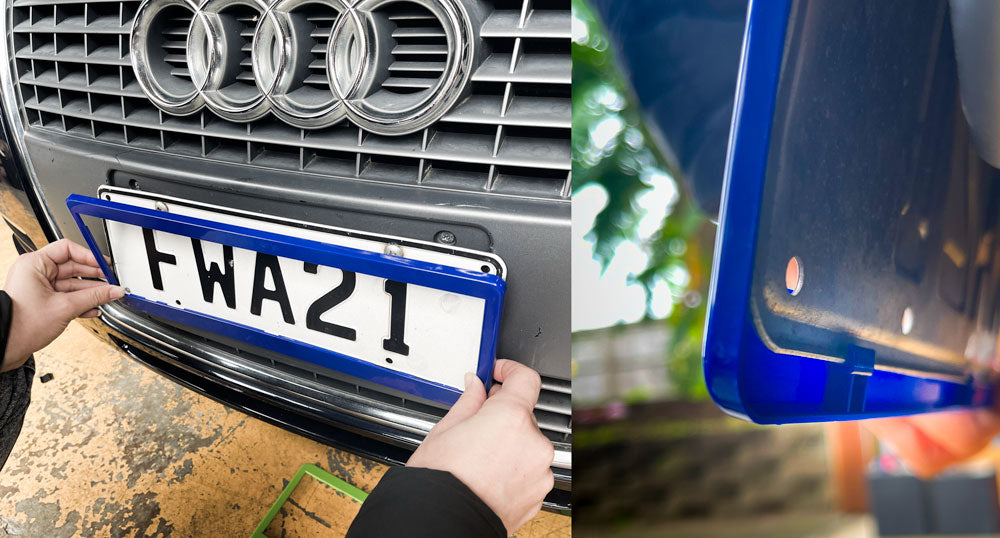
Clip on Frame Install
Standard, slim, and message number plates
Angle one long edge of your Plate Frame onto the edge of your number plate while sliding the clips behind the plate.
Then stretch/manipulate the rest of the frame around the other edges of the plate ensuring that all clips are then in behind the number plate.
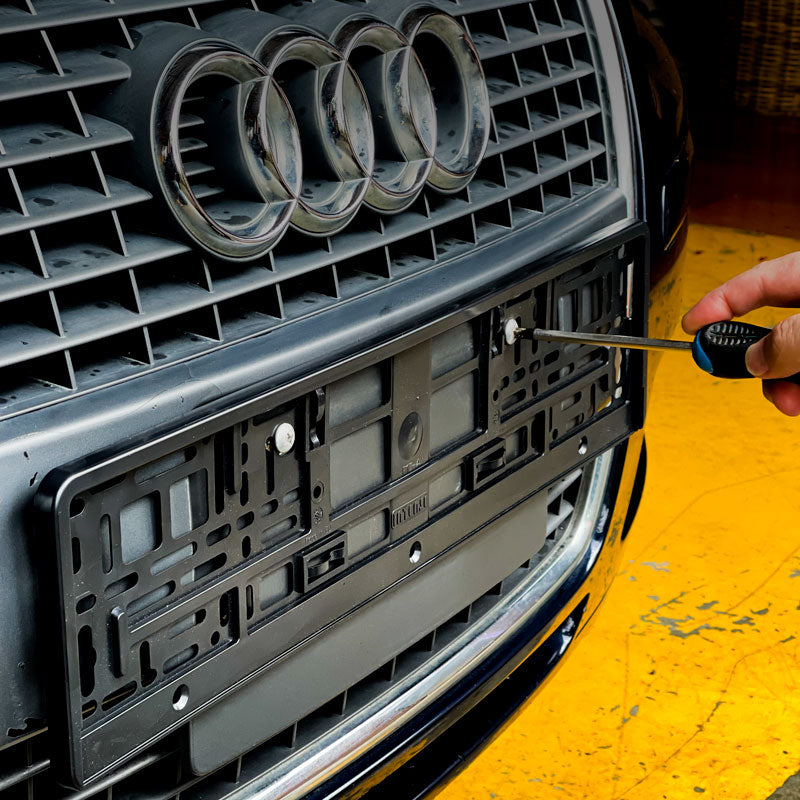
Screw on Euro Frame Install
European number plates
Do not attach the frame locking plate before installing your number plate into the backing plate.
Firstly attach the backing plate of your new Plate Frame to your vehicle with suitable screws.
Slide your number plate up into the backing plate ensuring that the top edge of the plate is in under the top lip of the frame.
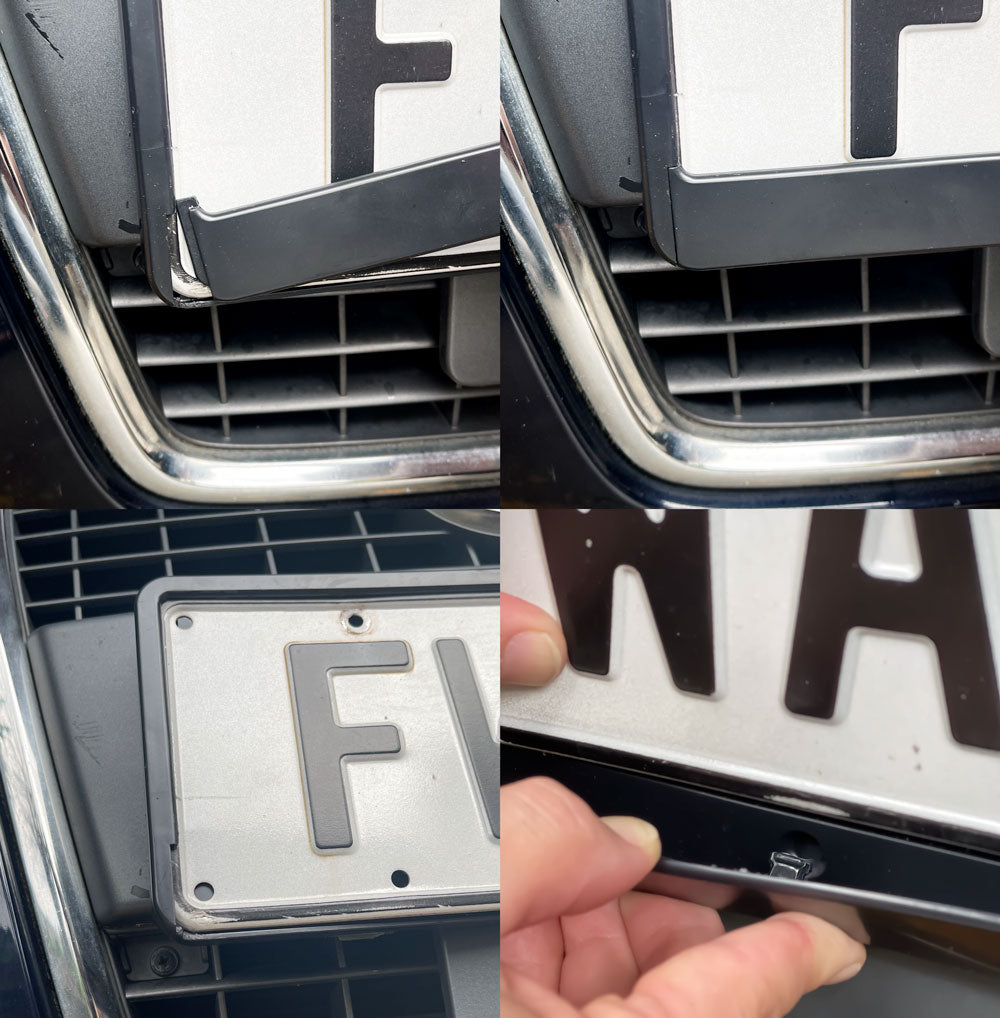
Insert one end of the locking plate into the side slot of the backing plate then slightly bend the locking plate to slide in the opposite end. Then firmly press the locking plate pins down into the holes of the backing plate. You're all done!
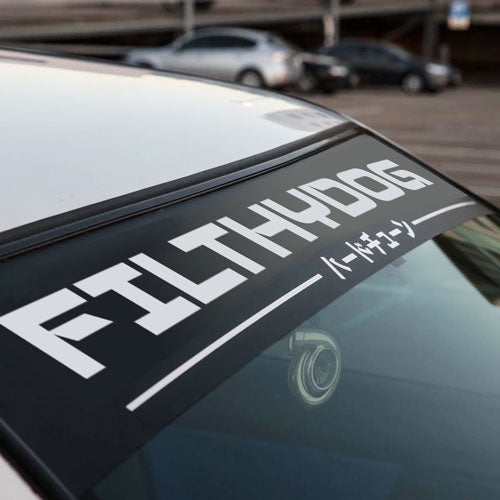
Stickers & Banners
Installing a long decal
This brief guide is more so for long or large decals that can be a little trciky to apply. This install method is refferred to the hinge method.
This method can be used to any install but for small decals you may not need to use the 'hinge'
Tip: Place pieces of masking tape as guides where you want the end and/or top/bottom edge of you decal to sit. This helps determine if the space is appropriate and that you end up with the decal where you need it.